With over 45 million acres of lawns in the U.S. and 70 million pounds of pesticides used annually, our yards are harming ecosystems. Birds and other wildlife are losing their habitats, making it crucial to transform outdoor spaces into sanctuaries.
Research by Doug Tallamy shows that native plants, like oaks, support 534 caterpillar species, while non-native species, such as ginkgo, support only 5. This highlights the importance of choosing the right plants for your yard.
Small changes can make a big difference. Yards with native plants host 8 times more threatened birds, like wood thrushes, compared to those without. By following Audubon’s Healthy Yard Pledge, you can remove invasive species, conserve water, and create a thriving habitat.
This guide will walk you through a 5-step framework to provide food, water, shelter, native plants, and year-round care for birds. Start today and make your backyard a haven for wildlife.
Key Takeaways
- U.S. lawns and pesticides harm ecosystems, making bird-friendly spaces essential.
- Native plants like oaks support hundreds of caterpillar species, vital for birds.
- Yards with native plants attract more threatened birds, such as wood thrushes.
- Audubon’s Healthy Yard Pledge promotes removing invasives and conserving water.
- A 5-step framework helps create a bird-friendly backyard oasis.
Introduction to Bird-Friendly Backyards
The United States is home to over 20 million acres of lawns, a staggering figure comparable to 15 national parks combined. While these manicured spaces may look appealing, they often replace natural habitats essential for birds and other wildlife. This loss of habitat is a growing concern, especially as ecosystems struggle to support diverse species.
Birds rely heavily on insects like caterpillars for survival. In fact, 96% of terrestrial North American birds depend on these insects to raise their young. Without a steady supply of food, bird populations decline. Unfortunately, traditional lawn care practices, which include heavy pesticide use, further disrupt this delicate balance. Pesticide runoff from lawns is 10 times more concentrated per acre than from farmland, posing a significant threat to ecosystems.
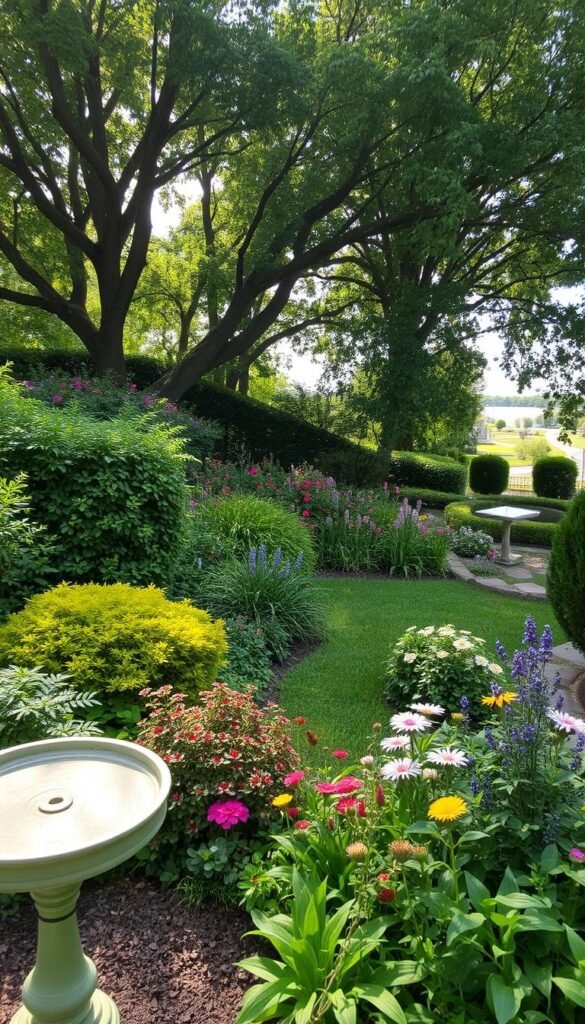
Another major threat to birds is outdoor cats, which are responsible for 1.4 to 3.7 billion bird deaths annually. Invasive species like porcelainberry also harm ecosystems by displacing native plants that birds depend on. These challenges highlight the need for thoughtful, bird-friendly landscaping practices.
Programs like Cornell’s YardMap and Audubon’s Hummingbirds at Home encourage individuals to contribute to bird conservation. By mapping bird habitats and planting native species, you can make a meaningful difference. Transforming your yard into a sanctuary for birds is not just beneficial—it’s essential for preserving biodiversity.
Step 1: Provide a Variety of Food Sources
Transforming your outdoor space starts with offering diverse food options for birds. A mix of feeders and native plants ensures a steady supply of nourishment. This step is crucial for attracting different species and supporting their survival.

Choose the Right Bird Feeders
Different birds prefer different types of feeders. For example, tube feeders are ideal for finches, while suet cages attract woodpeckers. Selecting the right feeder ensures that your yard caters to a variety of species.
| Feeder Type | Best For |
|---|---|
| Tube Feeder | Finches, Chickadees |
| Suet Cage | Woodpeckers, Nuthatches |
| Platform Feeder | Cardinals, Jays |
Plant Native Species for Natural Food
Native plants are a vital source of food for birds. Oaks, for instance, produce over 9,000 caterpillars, essential for chickadee broods. Sunflowers and asters provide seeds, while columbine and honeysuckle attract hummingbirds.
Avoid cultivars like double-flowered echinacea, which deter pollinators. Instead, focus on seasonal strategies. Serviceberries offer food in summer, while dogwood provides nourishment in fall.
By combining feeders and native plants, you create a sustainable food source that supports birds year-round.
Step 2: Offer Clean and Accessible Water
Water is a fundamental resource for birds, and providing clean, accessible options can transform your yard into a thriving habitat. From drinking to bathing, water plays a vital role in attracting and supporting diverse species.
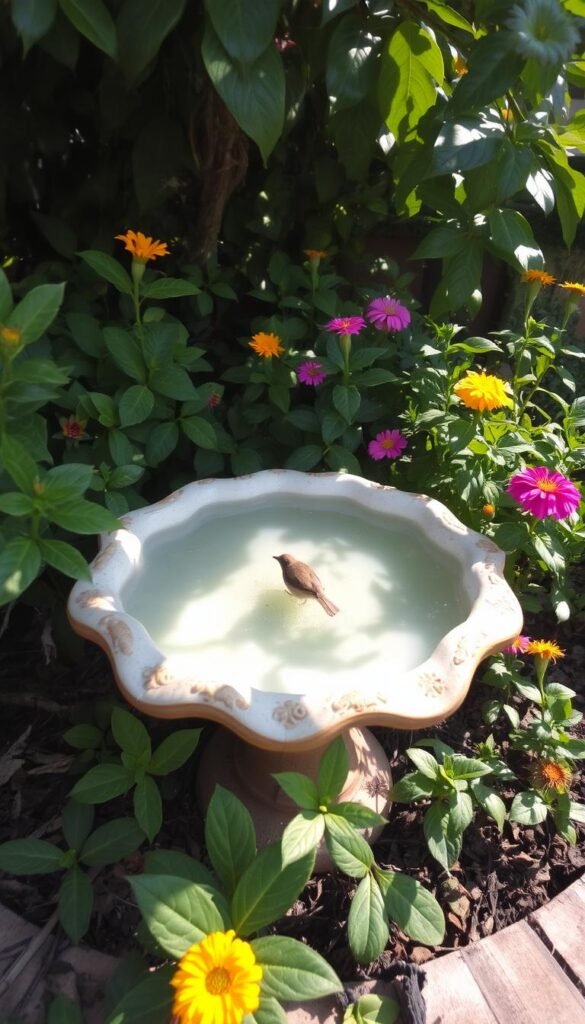
Install a Birdbath
Choose a shallow basin, ideally 1-2 inches deep, with a textured surface for better grip. Place it in partial shade, 5–10 feet from bushes, to allow birds to escape quickly if threatened. Adding a dripper or fountain can attract migrants like warblers and sparrows, making your garden a hotspot for activity.
Maintain Water Sources
Regular maintenance is key to keeping water sources safe and inviting. Clean the bath weekly with vinegar to prevent algae and disease. In winter, use heated birdbaths or DIY ice-free methods to ensure water remains accessible. For desert xeriscapes, consider hollowed boulders to capture rainwater naturally.
By following these steps, you can create a reliable source of water that supports birds year-round. For more tips on setting up a birdbath oasis, explore our detailed guide.
Step 3: Create Safe Shelter and Nesting Sites
Birds need safe spaces to thrive, and your yard can provide the perfect sanctuary. Offering shelter and nesting opportunities ensures they feel secure and supported. This step is essential for attracting diverse species and helping them raise their young.
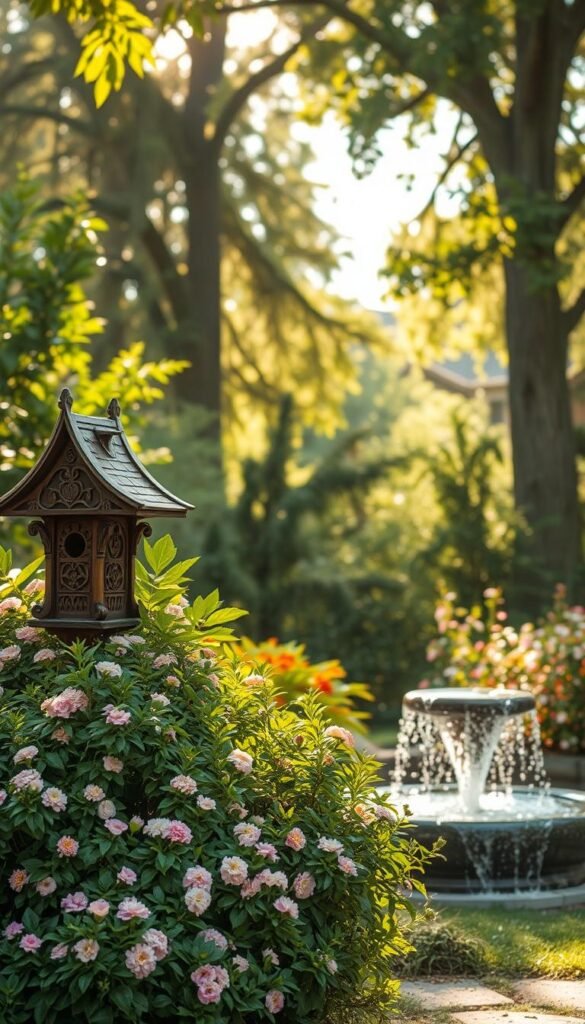
Plant Trees and Shrubs
Evergreens like pines and spruces provide year-round cover, especially during harsh winters. Thorny shrubs, such as hawthorns, deter predators like cats, making them ideal for bird safety. Native plants like dogwood and serviceberry also offer food and protection.
Leave dead trees, or “snags,” standing. These are vital for 85% of cavity nesters, including woodpeckers and chickadees. Brush piles made from fallen branches create hiding spots for ground-dwelling birds like towhees and thrashers.
Install Birdhouses
Birdhouses are a great way to provide nesting sites. Ensure the design matches the needs of your local species. For example, chickadees prefer houses with 1.5-inch entrance holes, while bluebirds need a height of about 6 inches.
Place birdhouses in quiet, shaded areas, away from predators. Avoid pruning trees and shrubs between March and August to protect active nests. With these steps, your yard will become a haven for birds to rest and raise their young.
Step 4: Incorporate Native Plants for a Sustainable Habitat
Incorporating native plants into your garden is a game-changer for bird conservation. These plants are perfectly adapted to local conditions, making them a sustainable choice for your habitat. They provide food, shelter, and nesting sites, creating a thriving ecosystem for birds and other wildlife.

Benefits of Native Plants
Native plants support a wide range of species, from birds to insects. For example, oaks host over 500 caterpillar species, which are essential for feeding young birds. Unlike non-native plants, which may support only a handful of species, natives are a powerhouse of biodiversity.
Here’s why they’re a must for your garden:
- They produce berries, seeds, and nectar timed perfectly for birds’ needs.
- They attract insects, a crucial food source for many birds.
- They require less water, fertilizer, and pesticides, making them eco-friendly.
Selecting the Right Plants
Choosing the right native plants depends on your region. For example, saguaro cacti are ideal for Gila woodpeckers in Arizona. Layering your garden with canopy trees, understory shrubs, and groundcover creates a diverse habitat that attracts more birds.
Use Audubon’s ZIP code-based native plant database to find the best options for your area. Cluster five or more of the same species to help pollinators thrive. This approach ensures your garden becomes a haven for birds year-round.
Step 5: Maintain a Bird-Friendly Environment Year-Round
Keeping your yard bird-friendly throughout the year requires thoughtful care and seasonal adjustments. Birds rely on consistent support, from food and water to safe shelter, no matter the season. By making small changes and avoiding harmful practices, you can ensure your space remains a haven for wildlife.
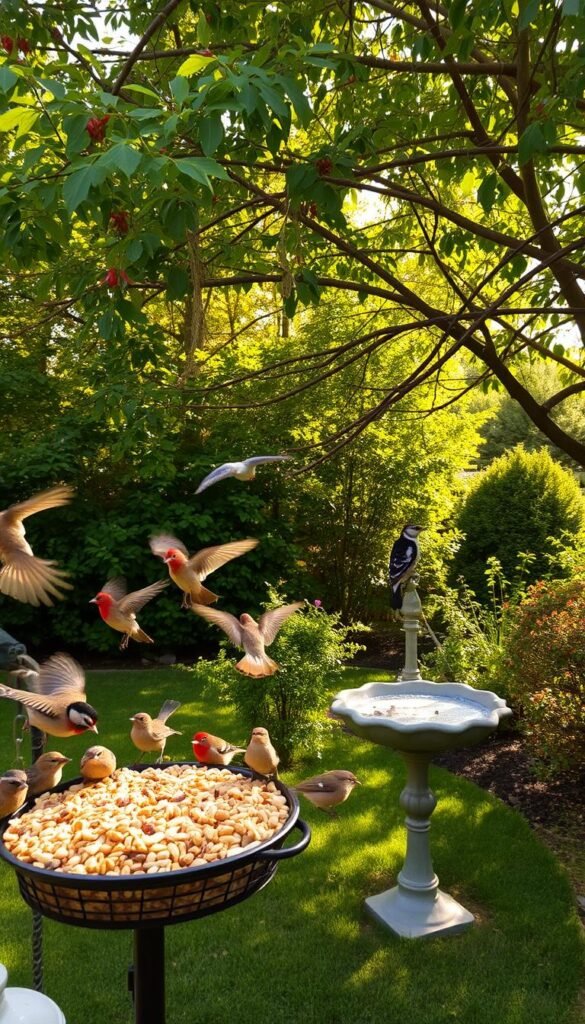
Seasonal Adjustments
Adapting your yard to the changing seasons is essential for supporting birds. In winter, provide high-fat foods like sunflower seeds and suet to help them conserve energy. During spring and summer, leave leaf litter to support moth pupae and ground feeders like robins and sparrows.
Here’s a quick guide to seasonal care:
| Season | Action |
|---|---|
| Winter | Offer high-fat foods like suet and sunflower seeds. |
| Spring | Leave leaf litter for insects and ground feeders. |
| Summer | Provide fresh water and shade for cooling. |
| Fall | Plant native plants for future food sources. |
Avoid Harmful Practices
Certain habits can unintentionally harm birds. Avoid using pesticides, especially neonicotinoids, as even one treated seed can be deadly to songbirds. Replace 25% of your lawn annually with native plants to reduce chemical use and create a healthier habitat.
Other harmful practices to avoid include:
- Using window decals to prevent collisions, which kill over 1 billion birds each year.
- Keeping outdoor cats indoors to protect birds from predators.
- Removing invasive species that compete with native plants.
By following these steps, you can maintain a bird-friendly environment that supports wildlife throughout the year. Your efforts will make a lasting impact on local ecosystems and bird populations.
Conclusion
Birds are vital to our ecosystems, yet their populations are declining rapidly. A staggering 96% of this decline is linked to the loss of insects, their primary food source. By transforming your backyard into a bird-friendly habitat, you can make a meaningful difference.
Join over 125,000 people using Cornell’s YardMap to track progress and share insights. As Doug Tallamy says, “Gardening transcends the gardener.” Community efforts, like Urban Oases grants and schoolyard habitats, are also making an impact.
Imagine this: converting just 10% of U.S. lawns to native plants could restore over 20 million acres of habitat. Your home can be part of this change. Start today and help protect the birds that enrich our world.

0 Comments