
Creating a feeder station near your window is a simple and rewarding project. It offers a chance to enjoy nature from the comfort of your home. With over 45 million birdwatchers in the U.S., this activity connects you to a vibrant community.
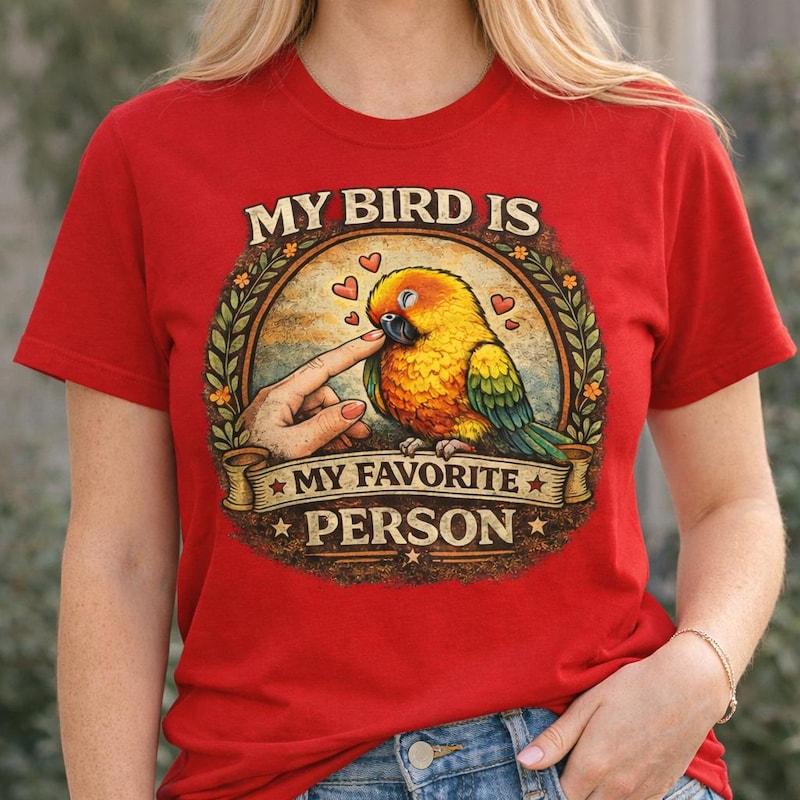
👗 Shop Our Most Loved Bird Lover Shirts
Comfortable, meaningful shirts for bird lovers, families, and everyday wear.
🛒 Shop Bird Lover Shirts on Etsy
These stations are not just for feeding birds. They also enhance your window’s appearance and reduce collisions by up to 60%. Using recycled materials like MDF scraps makes it budget-friendly and eco-conscious.
This project is perfect for anyone who loves nature or wants to add a unique touch to their home. It’s a fun way to support local wildlife while enjoying the beauty of birds up close.
Key Takeaways
- Affordable alternative to store-bought feeders.
- Enjoy up-close birdwatching from home.
- Enhances window aesthetics while feeding birds.
- Reduces window collisions by 60%.
- Uses recycled or scrap materials for a budget-friendly approach.
Why Set Up a Window Bird Feeder Station?
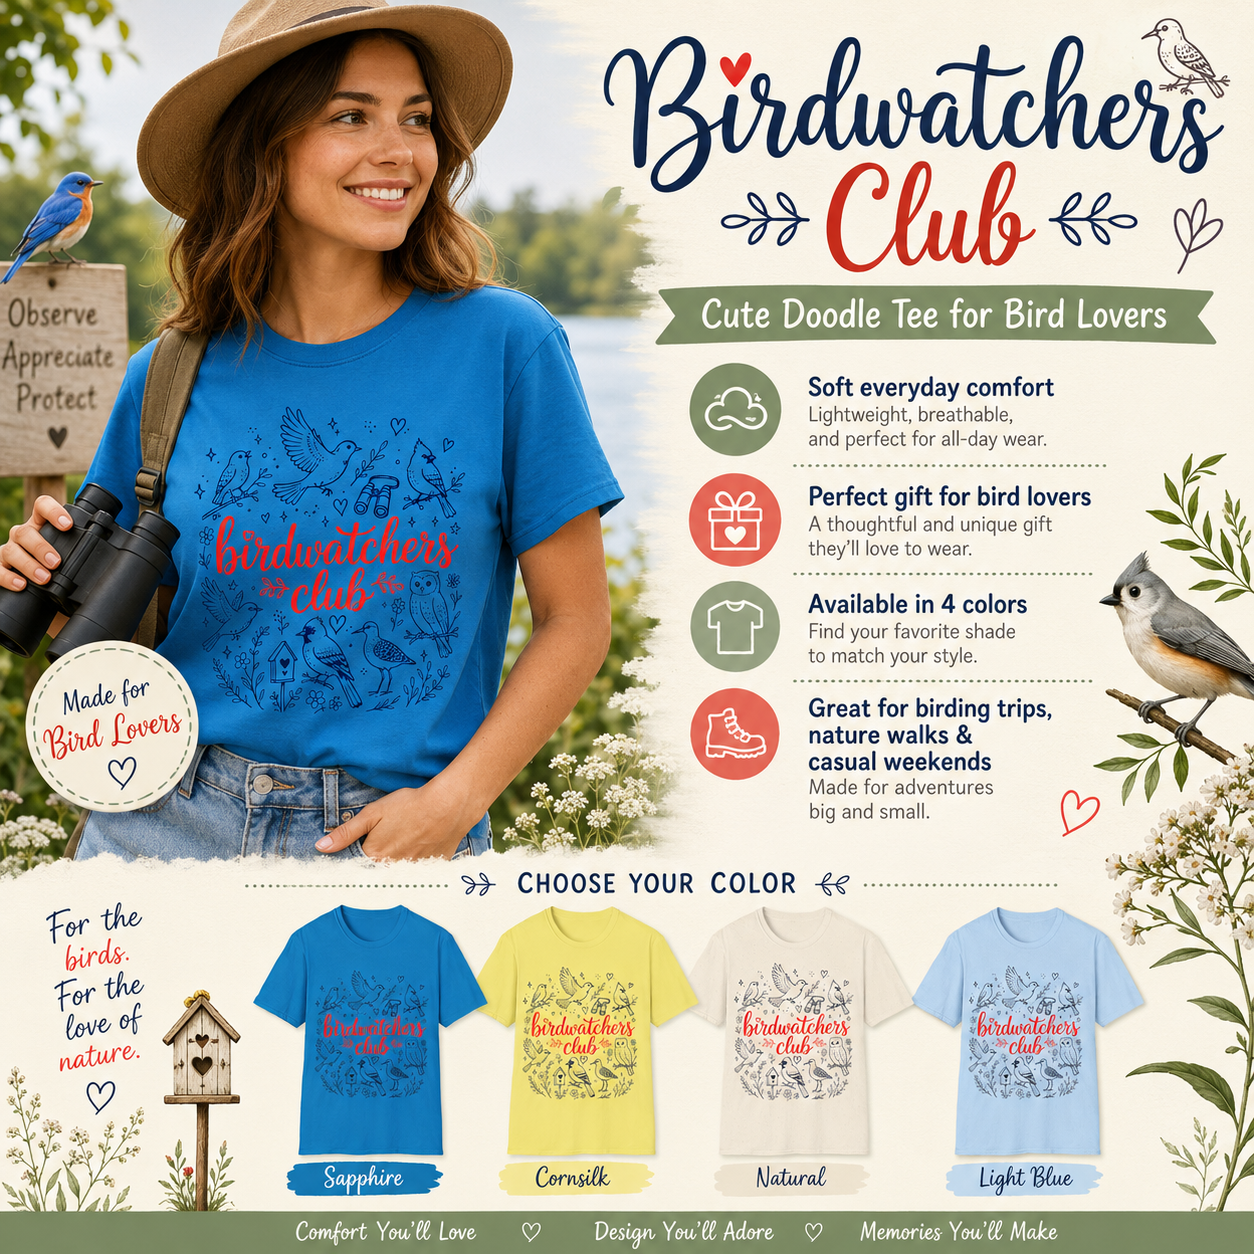
Love Birds? Shop Our Etsy Store!
Faith-filled bird shirts, mugs & gifts — beautifully printed & shipped fast. 122+ designs, 5-star rated.
🛒 Shop YourBirdBuddyShop on EtsyFeeding birds near your window offers numerous benefits. It’s a simple way to support local wildlife while enjoying nature up close. Studies show that installing a feeder can reduce window collisions by up to 60%, making it safer for birds to visit.

These stations provide year-round support. Over 85% of species rely on supplemental feeding during winter. They also offer educational opportunities for children to observe feeding behaviors and learn about different species.
Unlike traditional feeders, a window setup creates a 30-foot collision buffer zone, ensuring safety. Non-permanent mounts make it ideal for homes with architectural preservation requirements. Plus, urban areas see a 23% increase in birds with these feeders.
Customizable options allow you to give birds what they need. Offer fruit for orioles or suet for woodpeckers. Watching these visitors can also reduce stress, making it a rewarding experience for you.
- Supports birds year-round, especially in winter.
- Reduces window collisions by 60%.
- Safe, non-permanent installation for architectural compliance.
- Boosts urban bird populations by 23%.
- Customizable feeding options for specific species.
Materials and Tools You’ll Need
Gathering the right supplies is the first step to success. Whether you’re using recycled items or purchasing new, quality materials ensure your project lasts. This guide covers everything you’ll need to create a functional and safe setup.

Essential Materials
Start with weather-resistant options like MDF board, which requires sealing for durability. Bamboo skewers are a safer alternative to metal for perches, and they’re easy to replace. Recycled plastic containers, such as yogurt tubs, work well for holding food or water.
Use food-safe adhesives like PVA glue, which dries in 24 hours when clamped. For mounting, suction cups or garden wire systems are reliable choices. Ensure containers are less than 3 inches deep for easy water access.
Required Tools
Basic tools include a utility knife for cutting and a drill for creating holes. Safety gear like gloves and glasses is essential. Paintbrushes help apply adhesive and paint, while suction cups or wire secure the setup to your window.
| Category | Items |
|---|---|
| Materials | MDF board, bamboo skewers, recycled plastic containers, PVA glue, suction cups |
| Tools | Utility knife, drill, safety gear, paintbrushes, garden wire |
For more inspiration on crafting with recycled items, check out this DIY bird feeder guide. It’s a great resource for beginners and experts alike.
Step-by-Step Guide to Building Your Bird Feeder
Start your project by focusing on precise measurements and planning. A well-thought-out design ensures functionality and durability. Begin by assessing your window ledge for uneven surfaces and consider microclimate factors like sun exposure and precipitation.
Step 1: Planning and Dimensions
Measure the area where the feeder will sit. A width of 130mm and a thickness of 12mm are ideal for stability. Use weatherproof materials like MDF board, and seal it with black spray and lacquer coating for longevity.
Step 2: Creating the Water Container
Design a shallow dish for water, ensuring it’s less than 3 inches deep. This allows easy access for birds. Drill small holes for drainage to prevent water stagnation.
Step 3: Designing the Food Area
Build a tray or box to hold seeds or other food. Ensure it’s sturdy and easy to refill. Add a perch using bamboo skewers for birds to rest while feeding.

Step 4: Adding Fruit and Fat Holders
Include a separate section for fruits or suet. Use a gravity-based design to keep food accessible. This attracts a variety of species, from orioles to woodpeckers.
Step 5: Securing the Feeder to the Window
Attach the feeder using suction cups or garden wire. Ensure it’s stable and safe for birds. Non-permanent mounts are ideal for homes with architectural restrictions.
Step 6: Final Touches with Glue and Paint
Use PVA glue to secure all parts and let it dry for 24 hours. Add a coat of paint for aesthetic appeal and weatherproofing. Your feeder is now ready to attract visitors!
How to Attract Birds to Your Window Feeder
Bringing feathered friends to your setup takes smart planning. Most birds need about two weeks to acclimate to a new feeder window. Start with black oil sunflower seed—it attracts over 80% of common species.

- 70% seed (sunflower, millet)
- 20% fruit (chopped apples, berries)
- 10% suet (for woodpeckers and nuthatches)
Align offerings with migration cycles. Swap to high-energy foods like peanuts in fall. In spring, add mealworms for nesting pairs.
| Food Type | Best For | Season |
|---|---|---|
| Black oil sunflower | Cardinals, finches | Year-round |
| Suet cakes | Woodpeckers | Winter |
| Mealworms | Bluebirds | Spring |
Train birds to visit by opening curtains gradually over five days. Silicone decoys create social proof—place them near the design. Play feeding calls via apps for extra attraction.
Add native plants in a 3:1 ratio to the feeder area. Reflective tape angled at 45° deters predators without scaring birds.
Maintenance and Cleaning Tips
Regular maintenance is key to a thriving bird-friendly setup. A clean and functional feeder ensures birds keep visiting while preventing health hazards. Here’s how to keep your station in top shape.
Start with a weekly cleaning routine. Soak the feeder in a vinegar solution to disinfect it. This removes bacteria and keeps the food safe for consumption. For plastic parts, use a soft brush to scrub away residue.

Prevent mold by installing copper mesh in drainage holes. This keeps the area dry and discourages fungal growth. Monthly structural checks are also essential. Test fasteners for tightness to ensure stability over time.
Seasonal changes require extra care. In winter, teardown the setup to prevent frost damage. Store components in a dry place to avoid expansion cracks. For pest management, use anti-ant moat fluid to deter unwanted visitors.
Keep a maintenance log to track cleaning schedules and repairs. This helps you stay organized and ensures nothing is overlooked. For disaster preparedness, secure the feeder with hurricane tie-downs during storms.
| Task | Frequency | Purpose |
|---|---|---|
| Disinfection | Weekly | Remove bacteria and mold |
| Structural Checks | Monthly | Ensure stability |
| Seasonal Teardown | Winter | Prevent frost damage |
| Pest Management | As needed | Deter ants and insects |
By following these tips, you’ll create a safe and welcoming space for birds. Proper care extends the life of your setup and ensures it remains a joy to use.
Conclusion
Building a small station for feathered visitors can transform your home into a nature hub. It’s a cost-effective project, with DIY options costing around $15 compared to $50 for commercial models. This setup not only benefits birds but also fosters community engagement through neighborhood census projects.
Accessibility is key. Consider wheelchair-height designs to ensure everyone can enjoy the experience. Youth involvement, such as Scout badge qualifications, adds educational value. Annual species counts provide valuable conservation metrics, helping track local wildlife health.
For future upgrades, think about integrating solar-powered cameras to monitor your feeder. Always make sure to follow safety protocols, like first aid for window collisions. For more tips on placement and attracting birds, check out this guide.
With these things in mind, your setup will be a rewarding addition to your space, offering endless opportunities to connect with nature.
Enjoyed this post? Browse our Etsy shop!
Bird shirts, mugs & faith apparel · 122+ designs · ★★★★★ 5.0


0 Comments