Creating a birdhouse from reclaimed materials is a rewarding project for DIY enthusiasts. Not only does it add charm to your backyard, but it also provides a safe haven for birds. Using salvaged wood and metal accents enhances the rustic appeal while being eco-friendly.
Proper design and measurements are essential to attract specific bird species. A well-planned structure ensures comfort and safety for your feathered friends. Tools like a table saw, drill, and air nailer make the process efficient and precise.
This project allows for adaptability in design, letting you customize it to fit your style. Whether you’re a beginner or an experienced crafter, building a birdhouse is a fun and fulfilling activity. For more tips on creating a bird-friendly space, check out this guide.
Key Takeaways
- Use reclaimed materials for an eco-friendly and rustic look.
- Proper measurements ensure a safe and comfortable space for birds.
- Tools like a table saw and drill simplify the construction process.
- Adaptable designs allow for personal customization.
- Salvaged wood and metal accents add authentic charm.
Introduction to Building a Rustic Wood Birdhouse
Crafting a rustic birdhouse brings charm to your backyard while supporting local wildlife. These structures not only provide shelter for birds but also enhance the aesthetic appeal of your outdoor space. Rustic designs, with their weathered textures and natural finishes, blend seamlessly into any garden or yard.
Using untreated wood is crucial for the safety of your feathered visitors. Treated or painted wood can release harmful chemicals, posing risks to birds. Salvaged barn wood or pallets are excellent choices, offering durability and an authentic rustic look. Plus, sourcing these materials from local businesses or recycling centers is both eco-friendly and cost-effective.
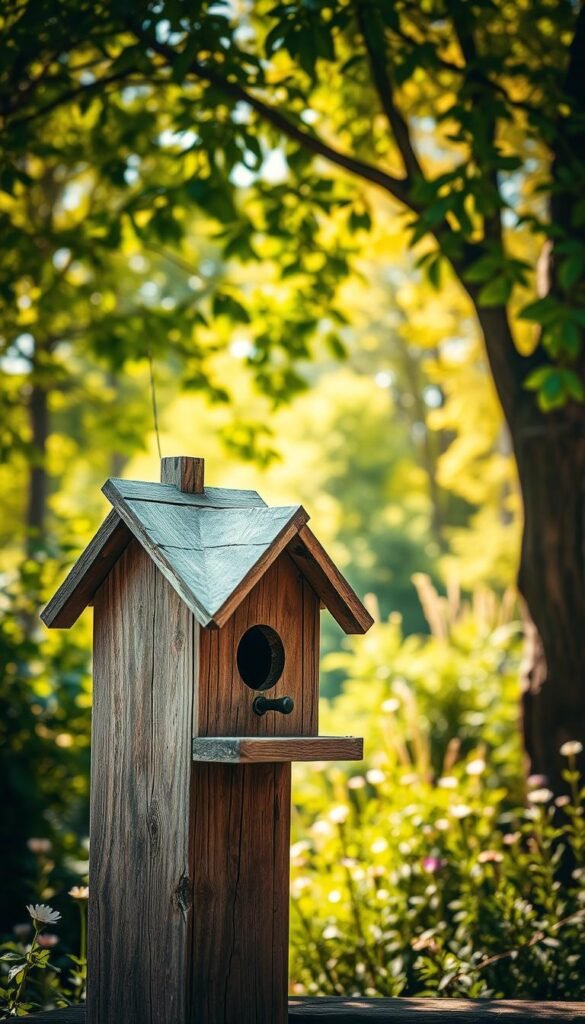
Seasonal maintenance is essential to keep the birdhouse functional and hygienic. A sliding front panel makes cleaning easier, ensuring a safe environment for nesting birds. Following RSPB size guidelines for entry holes helps attract specific species, such as bluebirds or chickadees, while keeping predators out.
Upcycling materials not only saves money but also reduces waste. Reclaimed wood and metal accents add character to your project, making it a unique addition to your outdoor space. Whether you’re a seasoned DIYer or a beginner, this project is a rewarding way to connect with nature and support local wildlife.
Gathering Materials and Tools
Preparing the right materials and tools is the foundation of any successful DIY project. For a functional and visually appealing structure, you’ll need both reclaimed materials and essential equipment. Proper preparation ensures precision and efficiency throughout the process.
Essential Materials
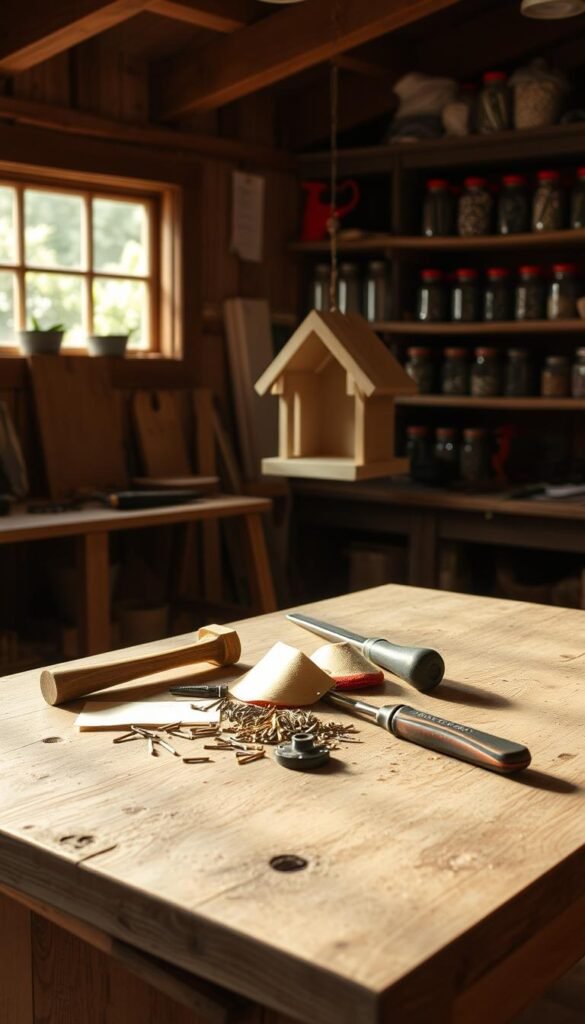
Start by sourcing untreated wood, such as salvaged barn wood or pallets. These materials are eco-friendly and provide an authentic rustic look. Avoid treated or painted wood, as it can release harmful chemicals. Metal accents, like rusty tin, add character and durability to your project.
For the entry hole, ensure you have a 1 1/8″ hole saw bit. This size is ideal for attracting specific bird species while keeping predators out. Exterior glue and clamps are also necessary for securing the pieces firmly.
Required Tools
A table saw and miter saw are critical for making precise cuts. A hand-held drill with the right bits is essential for creating holes and assembling the structure. For beginners, hand tools can be a great alternative to power tools, offering more control and safety.
Safety gear, such as heavy-duty work gloves and goggles, is a must when handling reclaimed materials. These items protect you from splinters, sharp edges, and dust. A combination square ensures 90° angles, adding stability to your design.
For more tips on selecting materials and tools, check out this detailed guide.
Designing Your Birdhouse
Designing a functional and attractive structure starts with careful planning. A thoughtful layout ensures the final product is both visually appealing and practical for its feathered inhabitants. This phase allows you to incorporate unique elements while addressing any material constraints.
Sketching the Design
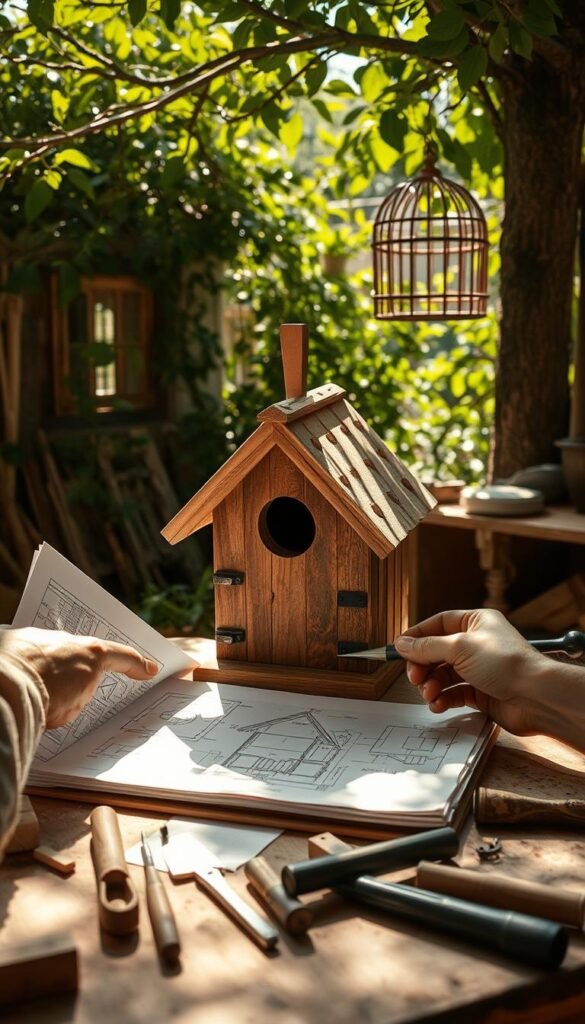
Begin by sketching your ideas on paper. This helps visualize the placement of walls, panels, and the roof. Consider the dimensions carefully to ensure the structure is spacious enough for birds yet compact enough for easy installation.
Pay attention to the side panels, as their width may vary depending on the salvaged wood you’re using. Sketching allows you to experiment with different layouts before committing to cuts.
Adjusting the Design
Once your initial sketch is complete, make necessary adjustments to accommodate material availability. For example, adapt the roof pitch if your salvaged wood pieces are shorter or longer than planned.
Incorporate decorative elements into functional components. Metal brackets can double as front panel retainers, adding both style and durability. A sliding front panel, secured with a stopper strip, simplifies cleaning and maintenance.
Cutting the Wood Pieces
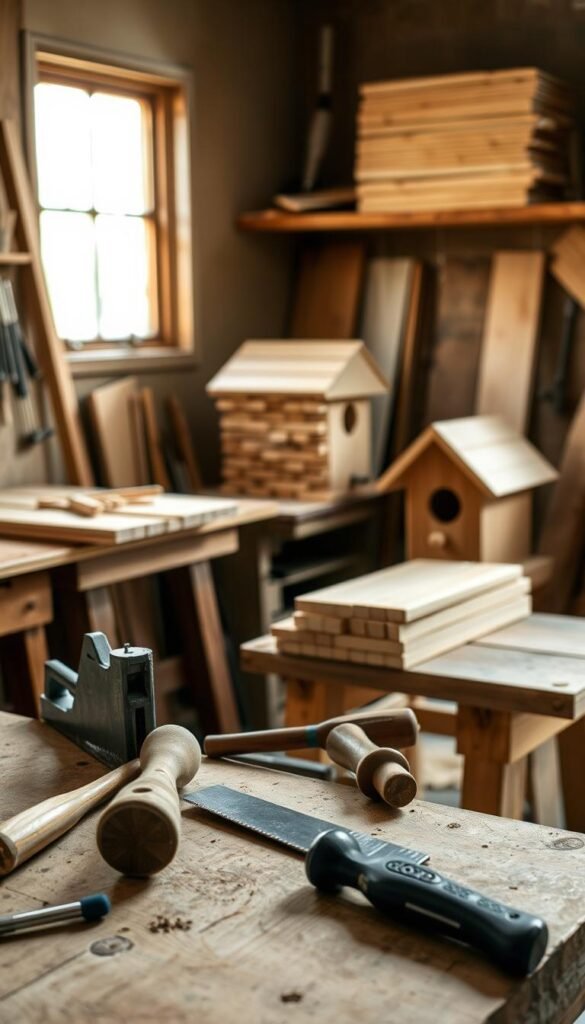
Accurate cutting of wood pieces is crucial for a sturdy and functional structure. Precise measurements ensure that the panels fit together seamlessly, creating a safe and comfortable space for birds. Start by marking the dimensions on your salvaged wood to avoid errors during cutting.
Front and Back Panels
The front and back panels are the foundation of the structure. Cut these pieces to the required size, ensuring they are identical for symmetry. For a rustic look, match the grain patterns across both panels. This adds visual consistency and enhances the overall appeal.
Side Panels
The side panels determine the interior volume of the structure. Calculate their height based on the desired space for nesting birds. Pre-drill screw holes to prevent the wood from splitting during assembly. This step ensures durability and a clean finish.
For detailed dimensions for birdhouse panels, refer to this guide. It provides exact measurements for each component, helping you achieve precision in your project.
| Panel Type | Dimensions |
|---|---|
| Front/Back Panels | 7 1/4″ x 11 1/2″ (trimmed to five-sided shape) |
| Side Panels | 5″ x 5 1/2″ |
| Bottom Piece | 5″ x 7″ |
| Roof Pieces | 8 1/2″ wide (31-degree cut on one end) |
Matching the grain patterns and pre-drilling holes are small but essential steps. They ensure the structure is both visually appealing and durable. Take your time during this phase to achieve the best results.
Assembling the Birdhouse
Putting the pieces together is the most satisfying part of the process. This stage transforms individual components into a functional and visually appealing structure. Attention to detail ensures durability and a perfect fit for your feathered friends.
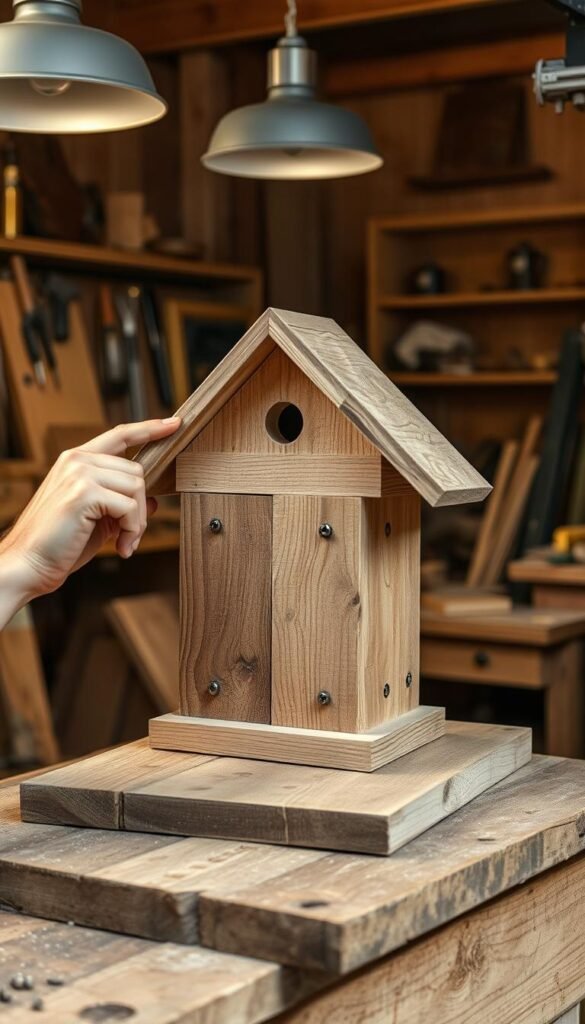
Attaching the Back Panel
Start by securing the back panel to the walls. Use triple nailing on three sides for stability. This method prevents gaps and ensures the structure remains sturdy over time. Pre-drill holes to avoid splitting the wood.
Installing the Floor
The floor is a critical component for comfort and drainage. Cut small gaps at the edges to allow water to escape. This prevents moisture buildup inside the structure. Notch the floor to accommodate the stopper strip, ensuring a snug fit.
- Allow a 1/8″ gap for seasonal wood expansion.
- Ensure drainage gaps are evenly spaced.
- Secure the floor firmly to avoid shifting.
Adding the Roof
The roof is a critical component for both functionality and aesthetics. It protects the structure from weather while adding a finishing touch to the design. Proper installation ensures durability and ease of maintenance.
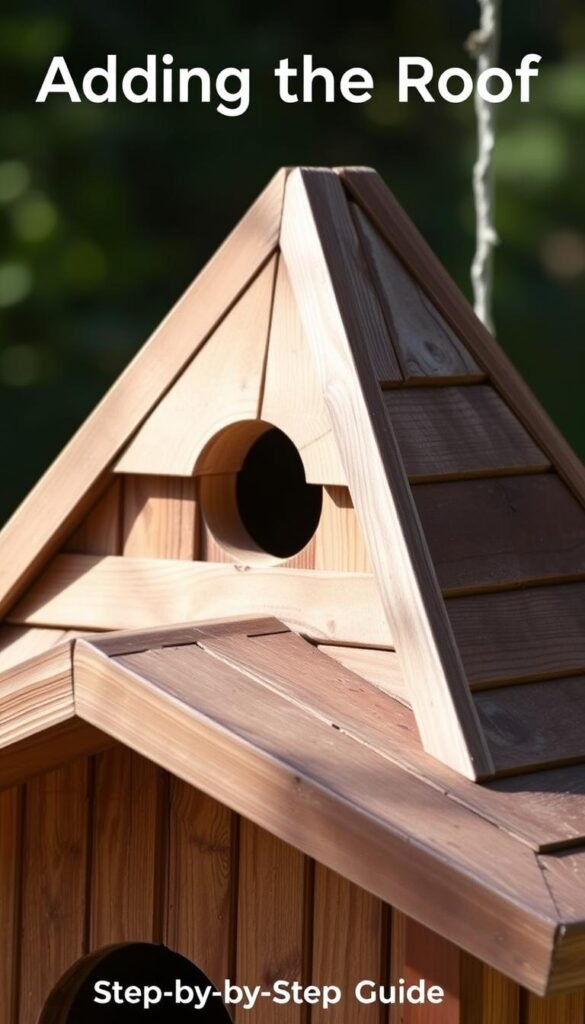
Cutting Roof Boards
Start by measuring and cutting the roof boards to the desired size. A 5-10° pitch is ideal for water drainage. Use a miter saw for precise angles, ensuring the pieces fit snugly together.
For a hinged design, cut one board slightly longer to create an overhang. This allows easy access for cleaning and maintenance. Pre-drill holes to prevent splitting during assembly.
Attaching the Roof
Secure the roof using exterior-grade screws or rust-resistant hinges. Hinges provide flexibility for cleaning, while screws offer a permanent solution. Ensure the overhang extends slightly beyond the walls for added protection.
For a decorative touch, consider adding shells or driftwood accents. These elements enhance the rustic appeal while maintaining functionality. Use a bungee cord to secure the hinged roof during windy conditions.
| Component | Specifications |
|---|---|
| Roof Pitch | 5-10° for water drainage |
| Overhang | 1-2″ beyond walls |
| Secure Methods | Exterior-grade screws or rust-resistant hinges |
Final Touches and Decorations
Personalizing your creation enhances its charm and functionality. The finishing details not only make your project visually appealing but also ensure it meets the needs of its feathered inhabitants. From decorative elements to precise measurements, these final steps bring your vision to life.
Adding Decorative Elements
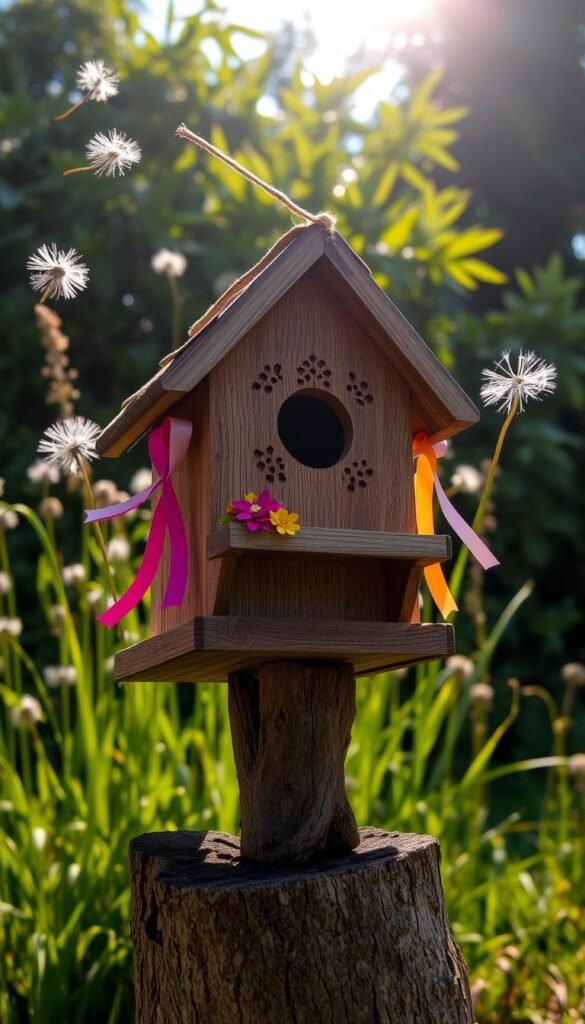
Decorative touches can transform a simple structure into a standout feature in your backyard. Consider using natural materials like shells, driftwood, or metal accents to enhance the rustic appeal. These elements add character while maintaining the project’s eco-friendly ethos.
For a unique look, paint or stain the exterior with non-toxic finishes. Avoid bright colors that might attract predators. Instead, opt for earthy tones that blend seamlessly with the natural surroundings. A well-placed perch can add charm, but be cautious—some experts warn it may provide predators with easier access.
Drilling the Entry Hole
The hole size is critical for attracting specific species. Follow RSPB guidelines to ensure the diameter suits the birds you want to invite. For example, a 1.125″ hole is ideal for chickadees, while a 1.5″ diameter works best for bluebirds.
Place the hole 6-8″ above the floor to prevent nest flooding. Use a drill with the appropriate bit size for precision. Smooth the edges to protect birds from injury. This step ensures a safe and welcoming entry for your feathered friends.
| Species | Hole Diameter | Height Above Floor |
|---|---|---|
| Chickadees | 1.125″ | 6-8″ |
| Bluebirds | 1.5″ | 6-8″ |
By focusing on these final details, you create a functional and beautiful structure that supports local wildlife. Whether you add decorative accents or perfect the entry hole, these touches make your project truly special.
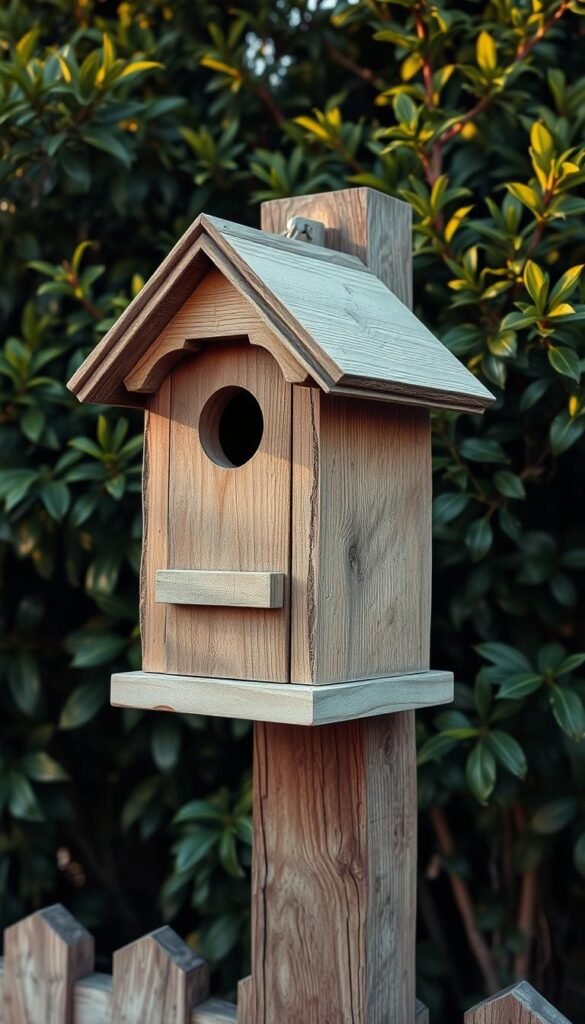
Mounting the Birdhouse
Selecting the ideal spot is crucial for attracting birds and ensuring longevity. A well-chosen location not only enhances the structure’s functionality but also keeps it safe from predators and harsh weather conditions.
Choosing the Right Location
Place the structure in a quiet area, away from high traffic and noise. Ensure it’s elevated to protect birds from ground predators. A spot with partial shade helps regulate temperature, keeping the interior comfortable.
Consider using a coat rack or repurposed hardware for mounting. This adds a creative touch while ensuring stability. Avoid areas with strong winds or direct sunlight for extended periods.
Securing the Birdhouse
Use non-invasive methods like bungee cords or ratchet straps for mounting. These options allow easy removal for cleaning and maintenance. Sliding pole mounts are another effective choice for flexibility.
When selecting hardware, opt for stainless steel or galvanized components. These materials resist rust and ensure durability. A rope can also be used for temporary setups, providing a quick and easy solution.
- Non-invasive methods: Ratchet straps vs. sliding pole mounts.
- Hardware selection: Stainless steel vs. galvanized components.
- Maintenance access: Ensure easy removal for cleaning.
Conclusion
Completing this DIY endeavor offers both personal satisfaction and a meaningful contribution to your outdoor space. From selecting reclaimed materials to mounting the final structure, each phase of the project ensures a functional and eco-friendly addition to your backyard.
Document your work by adding personal logos or markers. This not only makes the project uniquely yours but also inspires others to try their hand at customization. Share your results on social media using project-specific hashtags to connect with fellow enthusiasts.
With proper care, your creation can last 5-7 years, providing a safe haven for birds while reducing waste. This project is a rewarding way to support local wildlife and enhance your outdoor environment.
0 Comments