Hummingbirds are vibrant pollinators and delightful backyard visitors. Their tiny size and rapid movements make them a joy to watch. Attracting these birds to your garden can be rewarding and beneficial for the environment.
This guide provides comprehensive education on selecting, placing, and maintaining feeders. It’s especially relevant during spring through fall, when these birds are most active in the U.S. Supporting their migration and creating wildlife-friendly spaces are just a few of the benefits.
Key topics include feeder types, nectar recipes, garden integration, and common mistakes to avoid. Whether you’re new to this or looking to improve, this guide has you covered.
Key Takeaways
- Hummingbirds are vibrant pollinators worth attracting to your garden.
- Feeders are most useful during spring through fall in the U.S.
- Proper feeder selection and placement are crucial.
- Homemade nectar recipes can be simple and effective.
- Creating a wildlife-friendly space supports hummingbird migration.
Why Hummingbird Feeders Are Essential
Feeders provide a lifeline for hummingbirds during critical times of the year. These tiny birds rely on nectar as their primary energy source, especially during migration and nesting seasons. By offering feeders, you help them conserve energy and thrive in their natural habitats.
The Role of Hummingbirds in Nature
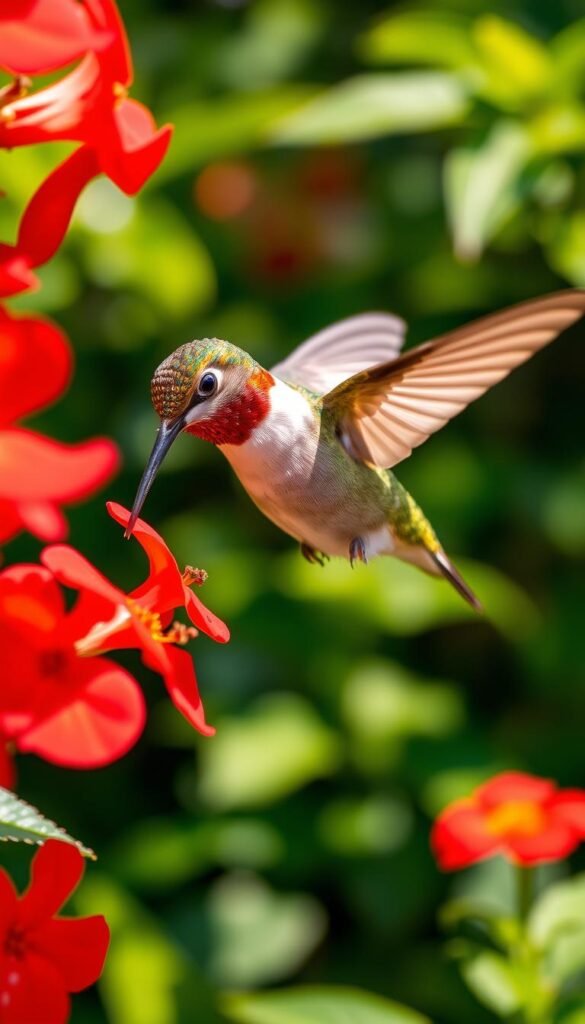
Hummingbirds are more than just a delight to watch. They play a crucial role in pollination, helping plants reproduce and maintain biodiversity. Their rapid movements and long beaks make them efficient pollinators for many flowers. Supporting them with feeders ensures they continue this vital work.
Benefits of Feeding Hummingbirds
Using feeders to attract hummingbirds offers numerous advantages. Here are some key benefits:
- Support migration: Feeders provide essential energy during spring and fall migrations.
- Close-up viewing: Enthusiasts can enjoy observing these birds up close.
- Juvenile learning: Young hummingbirds remember feeder locations, returning in future years.
- Garden health: A balanced ecosystem reduces the need for harmful pesticides.
- Pollinator attraction: Feeders often draw other pollinators like butterflies, enhancing biodiversity.
By incorporating feeders into your garden, you create a welcoming space for hummingbirds and other wildlife. It’s a simple yet impactful way to support nature.
Types of Hummingbird Feeders
Different feeder designs cater to various needs and spaces. Choosing the right one can enhance your ability to attract hummingbirds and create a welcoming environment. Here’s a breakdown of the most common types:
Saucer Feeders
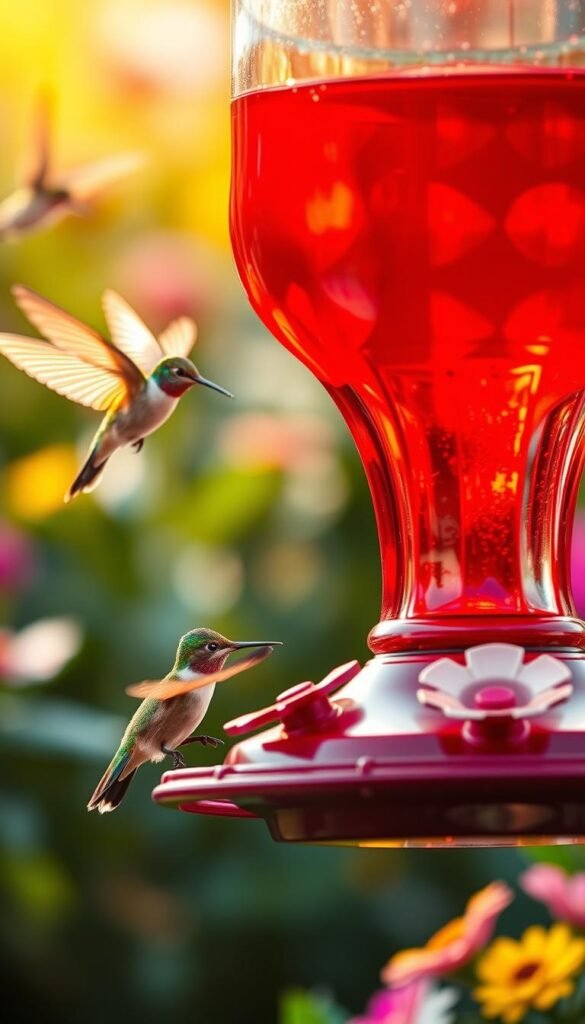
Saucer feeders are shallow and easy to clean. They’re ideal for those who want a low-maintenance option. These feeders often come with built-in ant moats to keep pests away. Perfect for gardens or patios, they’re a great way to support hummingbirds in your area.
Vacuum Feeders
Vacuum feeders, also known as inverted feeders, store nectar in a central reservoir. They’re designed with multiple feeding ports, making them suitable for larger spaces. These models are durable and often feature UV-resistant materials to withstand sun exposure.
Window Feeders
Window feeders attach directly to glass using suction cups. They’re perfect for apartments or small yards with limited space. Position them 3-4 feet from windows to prevent collisions. Due to frequent use, clean them daily to ensure they remain a safe and inviting way to attract hummingbirds.
For more options, check out this list of the best hummingbird feeders to find the perfect fit for your needs.
How to Choose the Right Hummingbird Feeder
Choosing the right feeder involves balancing design, material, and ease of use. A well-made feeder not only attracts hummingbirds but also ensures their safety and health. Consider these factors to make an informed decision.
Material and Design Considerations
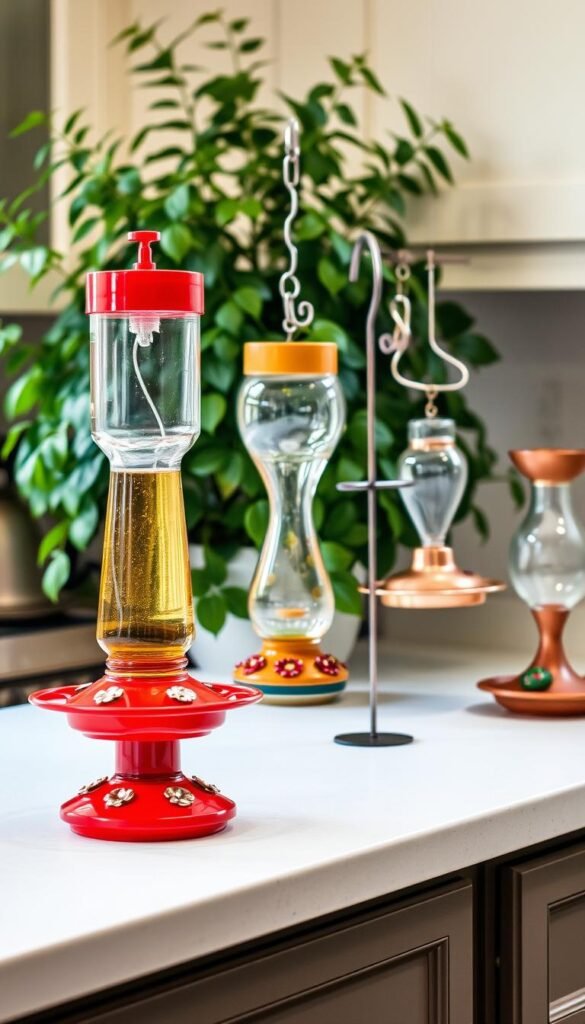
Feeders come in various materials like glass, plastic, and ceramic. Glass is durable and easy to clean, while plastic is lightweight and affordable. Opt for designs with wide mouths for easy scrubbing and accessibility.
Look for UV-resistant materials to prevent discoloration from sun exposure. Features like built-in ant moats and bee guards can enhance functionality and keep pests away.
Ease of Cleaning and Maintenance
Regular cleaning is essential to keep feeders safe for hummingbirds. Clean them every 2-3 days using hot water and vinegar to remove mold and residue. Avoid soap, as it can leave harmful residues.
Here are some tips for maintaining your feeder:
- Use vinegar solutions for stubborn mold and stains.
- Choose wide-mouth designs for easier scrubbing.
- Check for dishwasher-safe components to save time.
- Replace cracked or discolored feeders immediately.
By prioritizing maintenance, you ensure a healthy environment for hummingbirds and extend the life of your feeder.
Making Your Own Hummingbird Nectar
Creating homemade nectar for hummingbirds is simple and rewarding. It ensures a safe and healthy food source while allowing you to control the ingredients. With just sugar and water, you can prepare a blend that supports their energy needs.
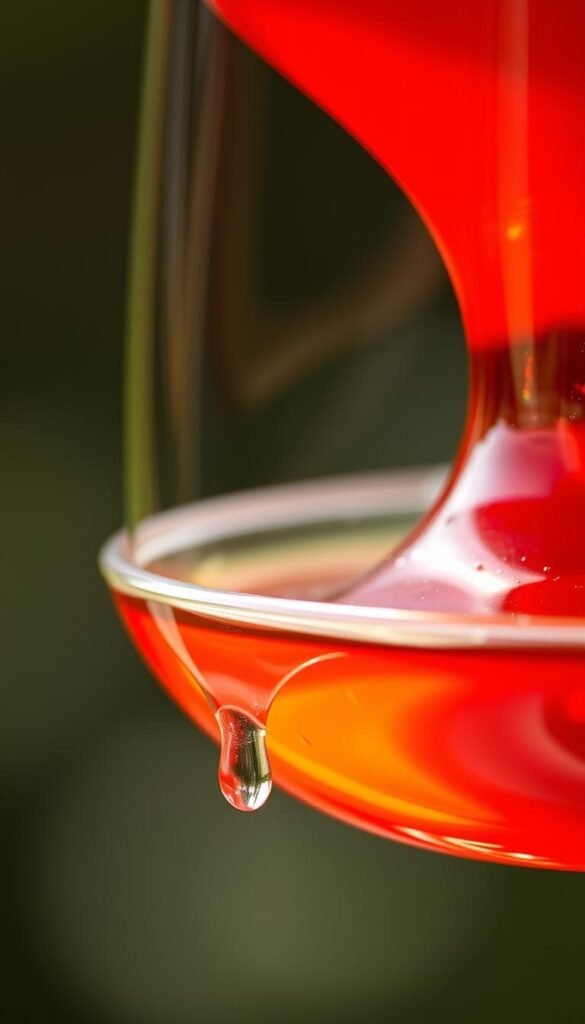 hummingbird nectar. The nectar glistens under soft, diffused lighting, casting subtle reflections on the container's smooth, curved surface. In the foreground, delicate droplets cling to the rim, hinting at the sweet, nourishing liquid within. The background is blurred, allowing the nectar to be the focal point, drawing the viewer's attention to the essential sustenance for these diminutive avian marvels." title="A close-up shot of a clear glass container filled with a vibrant, translucent reddish-orange hummingbird nectar. The nectar glistens under soft, diffused lighting, casting subtle reflections on the container's smooth, curved surface. In the foreground, delicate droplets cling to the rim, hinting at the sweet, nourishing liquid within. The background is blurred, allowing the nectar to be the focal point, drawing the viewer's attention to the essential sustenance for these diminutive avian marvels." width="585" height="1024" class="aligncenter size-large wp-image-1597" srcset="https://yourbirdbuddy.com/wp-content/uploads/2025/05/A-close-up-shot-of-a-clear-glass-container-filled-with-a-vibrant-translucent-reddish-orange-585x1024.jpeg 585w, https://yourbirdbuddy.com/wp-content/uploads/2025/05/A-close-up-shot-of-a-clear-glass-container-filled-with-a-vibrant-translucent-reddish-orange-171x300.jpeg 171w, https://yourbirdbuddy.com/wp-content/uploads/2025/05/A-close-up-shot-of-a-clear-glass-container-filled-with-a-vibrant-translucent-reddish-orange.jpeg 768w" sizes="auto, (max-width: 585px) 100vw, 585px" />
Simple Nectar Recipe
Start with a 1:4 ratio of sugar to water. Boil the water for one minute to dissolve the sugar and prevent fermentation. Let it cool before filling your feeders. This recipe is cost-effective and safer than commercial options.
Remember, never use red dye or honey. These additives can harm hummingbirds. The red accents on feeders are enough to attract them. For more tips, check out this guide to perfect nectar blends.
Common Mistakes to Avoid
Here are some pitfalls to watch out for:
- Never use food coloring or artificial sweeteners. They can harm hummingbirds’ health.
- Discard nectar if it looks cloudy or smells fermented. These are signs of bacterial growth or mold.
- Avoid tap water with high mineral content. Filtered water is a safer choice.
- Don’t overfill feeders. Prepare only what hummingbirds can consume in 2-3 days to maintain freshness.
By following these guidelines, you’ll create a safe and inviting environment for hummingbirds. Homemade nectar is an easy way to support their well-being and enjoy their presence in your garden.
Where to Place Your Hummingbird Feeder
Proper placement of hummingbird feeders ensures they thrive in your space. The right location not only attracts these tiny birds but also keeps them safe and healthy. Consider factors like visibility, shade, and spacing to create an inviting environment.
Visibility and Safety
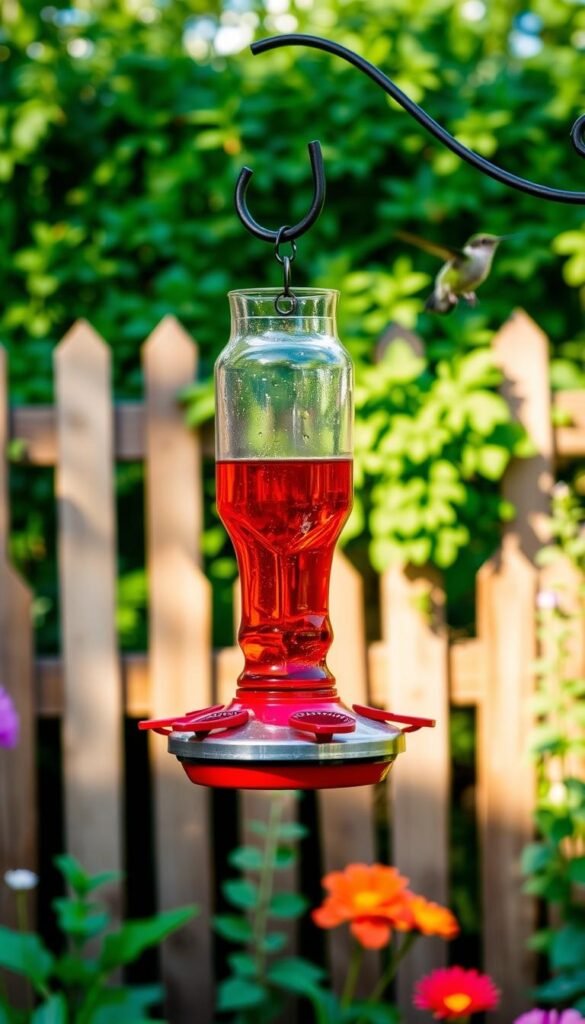
Place feeders where hummingbirds can easily spot them. Hang them near flowers or in open areas, but avoid locations with heavy foot traffic. This reduces the risk of collisions and disturbances. Ensure feeders are at least 4-5 feet off the ground to protect them from predators.
Shade and Space Considerations
Direct sunlight accelerates nectar fermentation, so shade is essential. Morning sun and afternoon shade optimize nectar freshness, extending its lifespan to several days. Rotate feeder locations seasonally to follow changing shade patterns.
Space multiple feeders 10-15 feet apart to reduce aggression among birds. Avoid windy spots to prevent spills and swaying, which can deter hummingbirds. By considering these factors, you’ll create a welcoming space for these vibrant visitors.
Maintaining Your Hummingbird Feeder
Keeping your hummingbird feeder in top condition ensures a healthy environment for these tiny visitors. Regular maintenance prevents mold, pests, and spoiled nectar, which can harm hummingbirds. By following simple steps, you can create a safe and inviting space for them to thrive.
Cleaning Frequency and Methods
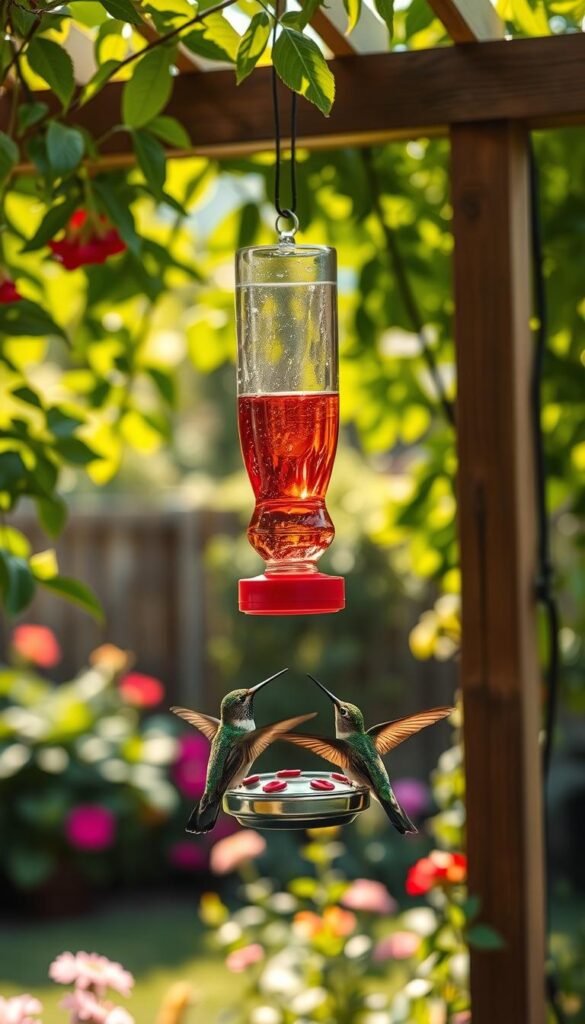
Clean your feeder every 2-3 days to keep it free from mold and bacteria. Use hot water and vinegar for scrubbing, avoiding soap that can leave harmful residues. For stubborn stains, soak the feeder in a vinegar solution for 10-15 minutes before rinsing thoroughly.
Here’s a quick guide to cleaning steps:
- Disassemble all parts of the feeder.
- Rinse with hot water to remove debris.
- Scrub with a bottle brush and vinegar solution.
- Rinse again to ensure no residue remains.
Refilling and Replacing Nectar
Replace nectar every 2 days in temperatures above 80°F to keep it fresh. Track consumption rates to adjust batch sizes and avoid waste. Always rinse the feeder with hot water before refilling to remove any lingering contaminants.
Here’s a table to help you manage nectar replacement:
| Temperature | Replacement Frequency |
|---|---|
| Below 70°F | Every 4 days |
| 70°F – 80°F | Every 3 days |
| Above 80°F | Every 2 days |
Discard old nectar to avoid attracting pests and label storage containers with preparation dates. By maintaining fresh nectar and clean feeders, you’ll create a welcoming environment for hummingbirds to enjoy.
Creating a Hummingbird-Friendly Garden
Transform your garden into a hummingbird haven with these simple tips. A well-designed space not only attracts these vibrant visitors but also supports their health and well-being. By incorporating native plants and water sources, you create an inviting environment for hummingbirds to thrive.
Planting Native Flowers
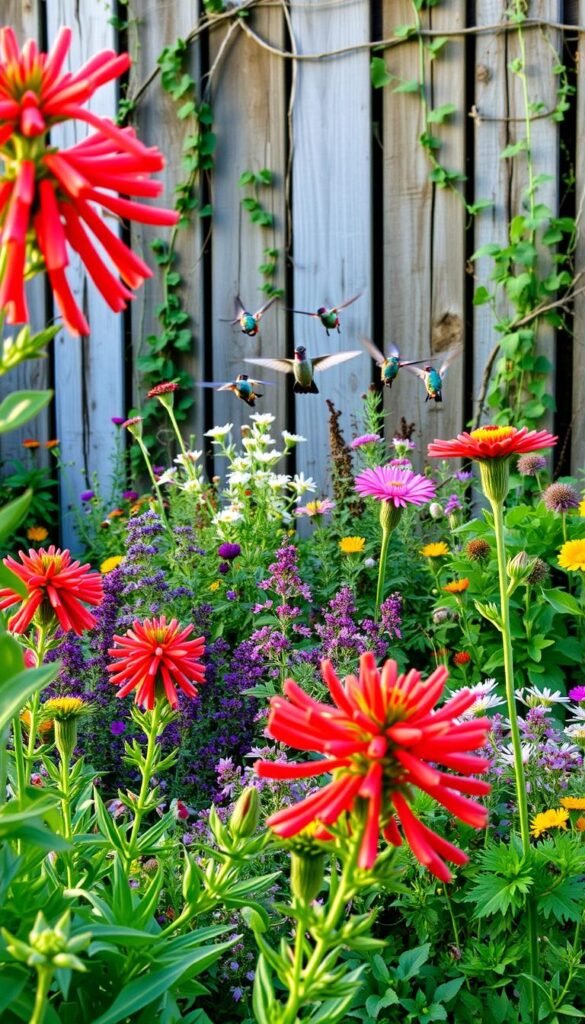
Native flowers are a natural source of nectar for hummingbirds. Choose blooms like trumpet vine, bee balm, or salvia to provide consistent food throughout the season. These plants are adapted to your region, making them low-maintenance and eco-friendly.
Group flowers in clusters to make them easier for hummingbirds to find. Add a mix of colors, especially red and orange, to catch their attention. This simple way of designing your garden ensures hummingbirds return year after year.
Providing Water Sources
Hummingbirds need water for drinking and bathing. Install misters or shallow baths with pebbles to create a safe space for them. Movement attracts birds, so consider adding drippers to keep the water fresh and appealing.
Here are some tips for maintaining water sources:
- Clean bird baths daily to prevent algae buildup.
- Position water sources away from feeders to reduce crowding.
- Use heated bird baths in winter for year-round support.
By offering clean and accessible water, you ensure hummingbirds stay hydrated and healthy in your garden.
Common Mistakes in Hummingbird Feeding
Avoiding common mistakes ensures hummingbirds stay healthy and return to your garden. Small errors in feeding practices can lead to serious issues, from health risks to deterring these vibrant visitors. By understanding and addressing these pitfalls, you create a safer and more inviting environment.
Using the Wrong Sugar
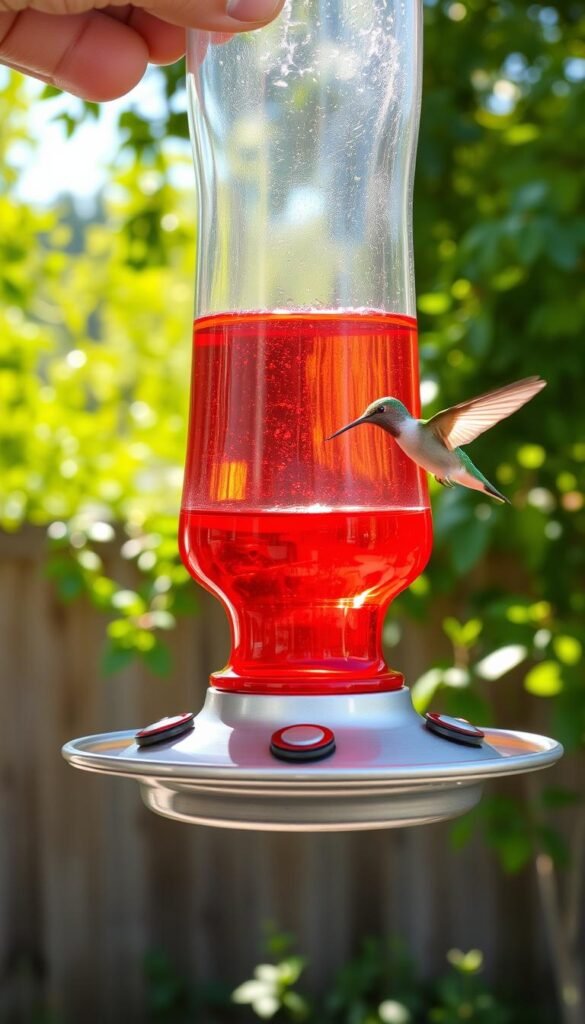
One of the most frequent errors is using the wrong type of sugar. Always use plain white granulated sugar in a 1:4 ratio with water. Avoid brown sugar, honey, or artificial sweeteners, as they can harm hummingbirds. These alternatives can cause digestive issues or even fatal fungal infections.
Never add red dye to the nectar. The red accents on feeders are enough to attract hummingbirds. Stick to the simple recipe to ensure their safety and well-being.
Neglecting Feeder Maintenance
Poor maintenance can lead to mold and bacteria growth, which are harmful to hummingbirds. Clean your feeder every 2-3 days using hot water and vinegar. Inspect it daily for cracks or leaks that could compromise its integrity.
Here are some tips to keep your feeder in top condition:
- Set reminders for cleaning schedules to stay consistent.
- Replace old nectar immediately after rain to prevent contamination.
- Rotate multiple feeders to ensure a constant supply of fresh nectar.
By prioritizing cleanliness and regular checks, you create a safe space for hummingbirds to thrive.
Seasonal Considerations for Hummingbird Feeding
Seasonal changes significantly impact hummingbird feeding habits. Adapting your approach ensures these tiny birds thrive throughout the year. From migration to nesting, their needs vary, making it essential to adjust your feeding practices accordingly.
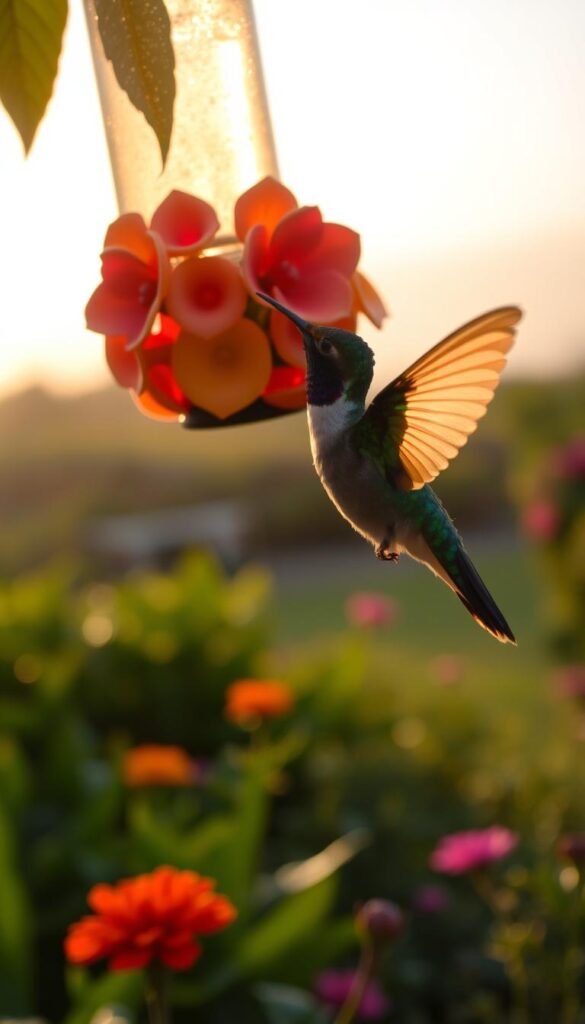
Spring and Summer Feeding Tips
During spring and summer, hummingbirds are highly active. They require a consistent source of energy for nesting and raising young. Use a 1:4 sugar-to-water ratio for nectar, ensuring it’s fresh and free from contaminants.
Here are some additional tips:
- Clean feeders every 2-3 days to prevent mold growth.
- Place feeders near flowering plants to attract more birds.
- Monitor activity to ensure nectar levels meet their needs.
Fall and Winter Feeding Tips
Fall marks the migration season, requiring extra care. Increase nectar concentration to a 1:3 ratio to provide additional energy for their long journey. Leave feeders up until two weeks after the last fall sighting to support late travelers.
In mild winters, use feeder heaters to prevent freezing. Collaborate with neighbors to create migration “stopover” sites, offering a safe haven for these birds. Platforms like Hummingbird Central can help track activity and adjust feeding strategies.
By tailoring your approach to each season, you support hummingbird health and ensure they return to your garden year after year.
Conclusion
Feeding hummingbirds is a rewarding way to connect with nature and support wildlife. Start by selecting the right feeders and preparing safe nectar. Proper placement and seasonal care ensure these tiny visitors thrive in your garden.
Begin small and expand your setup over time. Observing hummingbirds up close brings joy and contributes to their conservation. Every step you take makes a difference in their survival.
Ready to get started? Hang your first feeder this weekend and enjoy the show. With these tips, you’ll create a space that attracts hummingbirds and supports their journey.
0 Comments